Menu
DIY Hobbit Door Ornaments (and wreath :)
How to Make Hobbit Door Ornaments and Signs for Your Lord of the Rings-Inspired Holiday Decor
If you’re a Lord of the Rings fan, you’ll love these DIY Hobbit Door ornaments! They’re a fantastic addition to your holiday decor, bringing a little piece of Middle Earth into your home. Follow along with this step-by-step tutorial to create your own. Let’s dive in!
Materials Needed:
For Stencil Creation:
- Design (you can find lots of Lord of the Rings SVG artwork on Etsy, or you can create your own. Here are some of the ones I used :
-
-
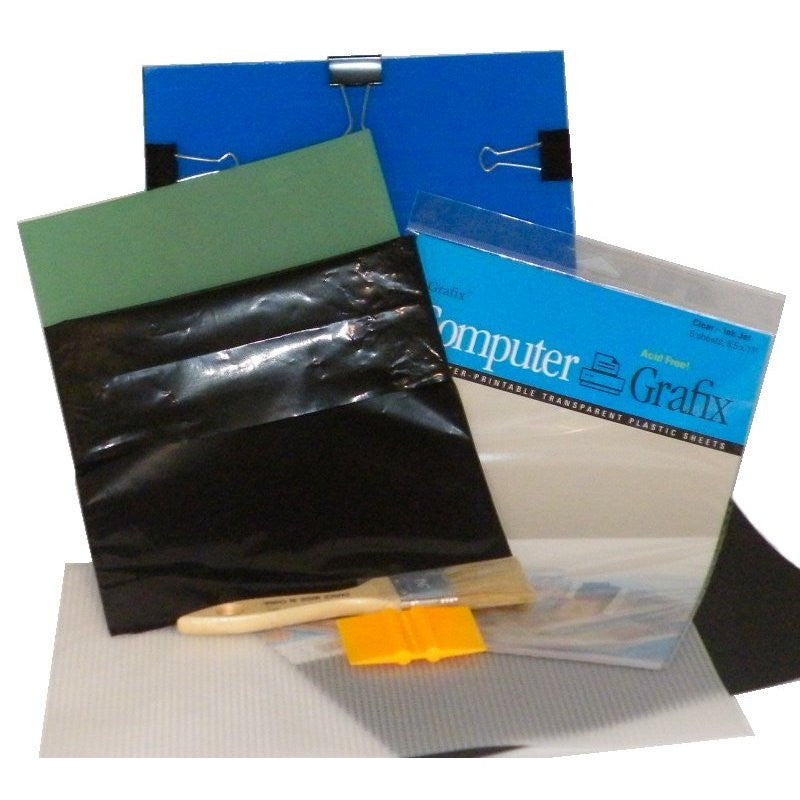
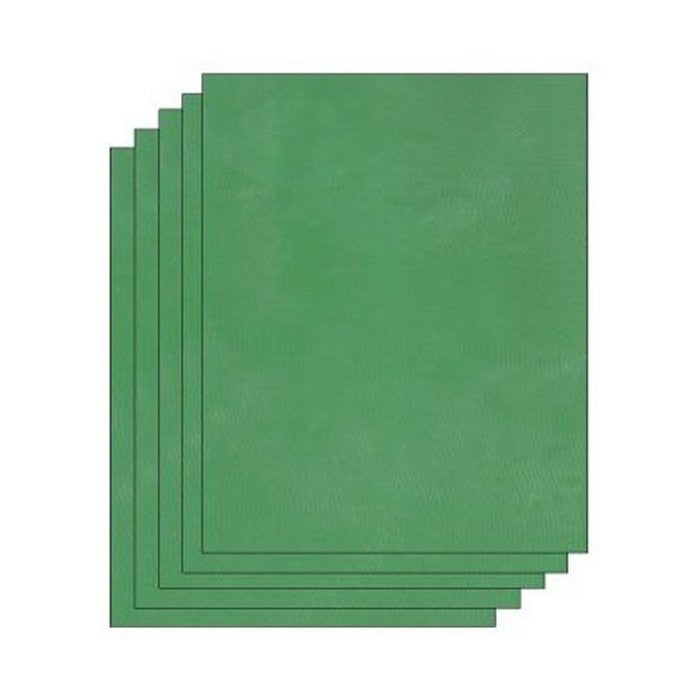
- EZScreenPrint Kit (This will give you everything you need to make 2 stencils. In this video I used Large 11x17 stencils, but you could use the 8.5x11 stencils just as easily. I ended up not needing things to be as big as I made them)
- Sunlight (or Exposure lamp if you are in a location that doesn't have consistent clear, sunny skies)
For Torch Paste (Homemade Wood-Burning Paste):
- 1 tablespoon ammonium chloride
- 100 ml water
- 2 tablespoons cornstarch
- Microwave-safe bowl
- Spoon for stirring
For Ornament Assembly:
- Wooden ornaments (available on Amazon or craft stores)
- Repositionable spray adhesive (optional, to keep stencils in place)
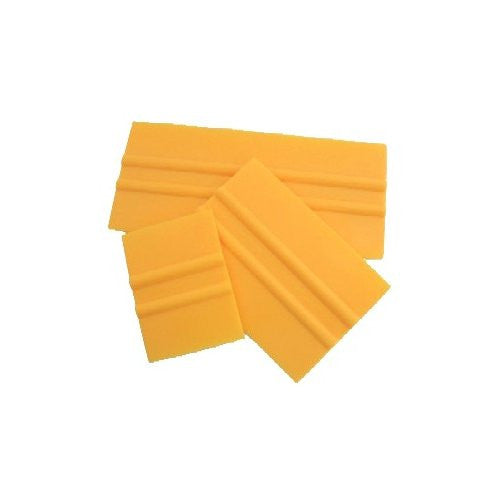
- Squeegee (included in the EZScreenPrint kits as well)
- Heat gun or iron
- Unicorn Spit wood stain or watered-down acrylic paint (I'm linking to big bundles of multiple colors, but you can obviously just get one or two of the colors you want :)
- Hot glue gun and glue sticks
- Small twig or vine wreaths (available on Amazon)
- Small embellishments (fake plants, ladybugs and bumblebees, and dollhouse doorknobs. We picked our fake plants up at a dollar store)
- Gold paint (optional, for door hardware)
For Middle Earth Sign Printing:
- Off-white and brown cardstock
- Black screen printing ink or acrylic (if you use regular acrylic paint, you'll want to add a thickening medium to it so that it doesn't bleed)
- Squeegee
- Eyeshadow for distressing (optional! You could also use paint or dirt or coffee lol)
Step-by-Step Instructions
Step 1: Create Your Stencil
-
Prepare Your Design: Purchase or create a Hobbit door design and print it onto transparency film.


- Assemble the Screen Exposure: Place the transparency over an EZScreen and clip it into the exposure unit. Make sure the printed side of the transparency is touching the shiny side of the EZScreen. Clip it in, and then expose it in direct sunlight (or with an exposure lamp if you are in a location that doesn't get much sunlight).


- Expose the Stencil: Leave the screen in direct sunlight for 60 seconds. Once exposed, bring it indoors.

- Develop the Stencil: Soak the screen in cool water for about 10 minutes, away from sunlight. I'll usually cover the tub that the stencil is in to avoid extra light.


- Reveal the Design: Gently brush away the unexposed portions of the stencil with a brush, revealing your design.

- Dry the Stencil: Allow the stencil to dry completely before use. The kits come with a plastic canvas that is great for setting the stencil aside to dry :)

Step 2: Make Your Torch Paste for Wood Burning
- Mix the Ingredients: In a microwave-safe bowl, combine 1 tablespoon of ammonium chloride, 100 ml water, and 2 tablespoons of cornstarch.

- Thicken the Paste: Microwave the mixture in 30-second intervals, stirring in between, until it reaches a paste-like consistency.

- Allow the paste to cool. This will be used to create the wood-burned look on your ornaments.
Step 3: Print the Hobbit Door Design on the Wooden Ornaments
- Prepare the Ornament: Spray a light coat of repositionable adhesive on the stencil (optional) to keep it from slipping.

- Position the Stencil: Place the stencil onto the wooden ornament.

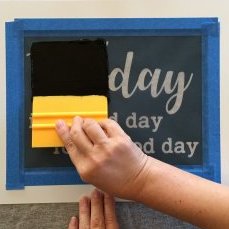
- Apply Torch Paste: Use a squeegee to press the torch paste through the stencil onto the wood.


- Let the paste dry for a few minutes, then use a heat gun or iron to activate the torch paste. The heat will cause the paste to burn slightly into the wood, creating a textured look.


Step 4: Add Color to the Door
- Apply Color: Use Unicorn Spit wood stain or watered-down acrylic paint for a vibrant, translucent color. Be careful not to cover the wood-burned texture.


- Let the ornament dry completely before adding additional decorations.
Step 5: Assemble the Wreath and Doorknob
- Create the Wreath: Add a thick line of hot glue around the edge of the ornament and place a small twig or vine wreath on top.


- Paint a small dot with gold paint to serve as the doorknob, or use miniature dollhouse doorknobs/leather studs for an extra authentic touch. The doorknobs we used were actually for studs leather working!


Step 6: Add Finishing Touches
- Embellish with Plants and Beads: Use fake plants, tiny beads, or other mini decorations around the door to complete the Hobbit hole look. I forgot to film us doing the small ornaments, but we did the same thing as with this larger wreath. Just dob on some hot glue and start slapping on moss, flowers, etc.

- Secure with Hot Glue: Arrange the decorations as desired and attach them with hot glue.

Step 7: Create Middle Earth Signs
- Prepare the Cardstock: Place off-white or brown cardstock on a flat surface.

- Stencil the Design: Position your Middle Earth phrases stencil on the cardstock, apply black screen printing ink with a squeegee, and gently peel back the stencil to reveal the design.


- For an aged parchment look, use a bit of brown eyeshadow to gently distress the edges of the cardstock. You could also use crayon, dirt, coffee-- I'm sure there are a lot of good distressing techniques out there lol.


Step 8: Display Your Creations!
Once your Hobbit Door ornaments and Middle Earth signs are complete, they’re ready to hang or display. Whether you use them on your Christmas tree or as decor around the house, they’re sure to add a magical touch!

Quick Tips:
- Use Ample Ink or Torch Paste: Make sure you’re applying enough ink or torch paste through the stencil for a clear print.
- Be Patient with Heat: A stronger heat gun or iron will make the torch paste react faster. If you have a weak heat gun, it may take a bit longer.
- Try Different Colors: Unicorn Spit wood stain offers vibrant colors that can be layered for various effects, and they are mixable!
- Choosing a selection results in a full page refresh.

