Menu
How to Etch on Glass with a Silk Screen Printing Stencil
If you are like me, etching on glass can sound a little intimidating. However, it is quite fun, and as you will see, easier than you might think! You only need a few easy to procure supplies and basic equipment.
Watch the Video:
Screen Printing Supplies for Etching Glass
- 1 EZScreen® (we used the Azalea Ready-to-Use stencil)
- Tacky spray (Amazon link)
- Armor Etch (Amazon link)
- Glass (We don't know enough about glass to make a recommendation yet, but this is what we purchased to make this video: glass on Amazon)
How to Screen Print Etching Paste on Glass
Lightly mist the stencil with the reposition-able spray. You don't need a lot, just enough to keep the stencil from sliding around on the glass while you are printing. Be sure to spray the shiny side of the stencil, as this is the side that will be face down on the glass while printing! Make sure that you have your design lined up where you want it to print. One common error we see is lining up the outer edge of the stencil where the print should be, instead of lining up the actual design to where you want it to print.
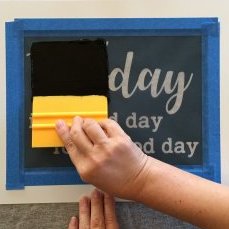
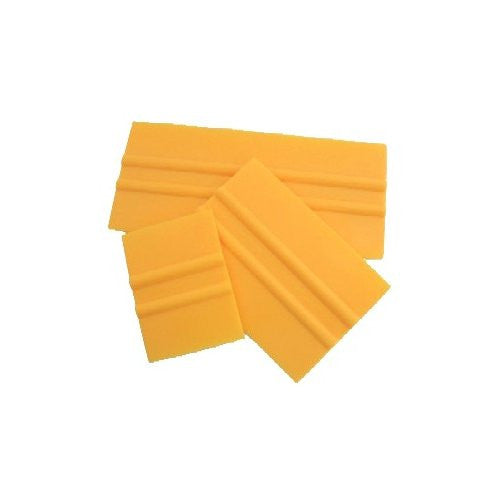
When you are confident in your alignment, scoop some of the Armor Etch onto the stencil, and use a squeegee to push it through onto the pane of glass.
Peel off the stencil and rinse it out while you let the Armor Etch do its thing on the glass. Let it set for about 10-15 minutes before you rinse it out in the sink as well.
Now you have a beautifully etched pane of glass. This makes for a lovely yet subtle enhancement to any glass piece!
Learn More About Screen Printing at Home with EZScreens:
Checkout our guide to
Screen Print on Glass
Create your own stencils with our
Screen Printing Kit
- Choosing a selection results in a full page refresh.

