Menu
Making a Screen Printed Ceramic Egg Dish!
Making a Screen Printed Ceramic Egg Dish!
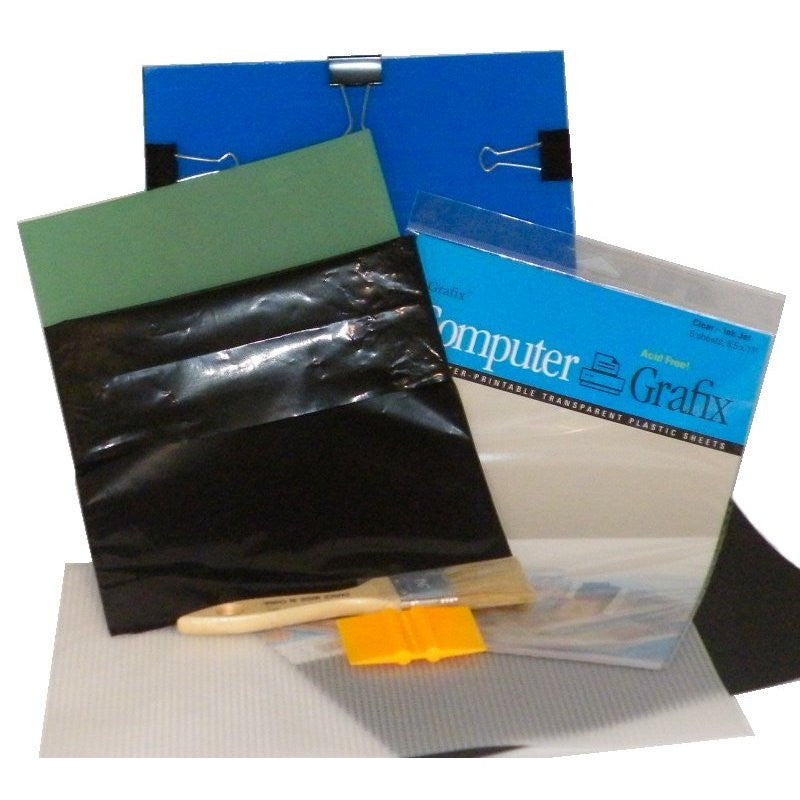
Have you seen those fancy ceramic egg holders and thought, “Hey, I could make that!” Well, you can! And it’s easier than you think! In this tutorial, I’ll walk you through how I made my own custom egg holder using just a clay slab, a cardboard egg carton, and a patterned EZScreen stencil.
Let’s get started!
Materials:
-
Clay slab (¼” to ½” thick)
-
Underglaze or ceramic screen printing ink (thickened if possible. You can use this silkscreen medium!)
-
Ruler and needle tool
-
Soft rib (optional)
-
Clean sponge
-
Leftover cardboard egg carton
Step 1: Roll Out Your Clay
Start by rolling out a slab of clay about ¼” to ½” thick. You want it thick enough to hold its shape, but not so thick that it won’t drape into the form.


Step 2: Add Your Pattern
I used one of our EZScreen stencils to screen a pattern directly onto the clay surface. You can use ceramic underglaze or screen printing ceramics ink (Amaco has great ones), just make sure it’s thickened a bit so it doesn’t run. The stencil adds visual texture and makes the finished piece feel much more intentional.
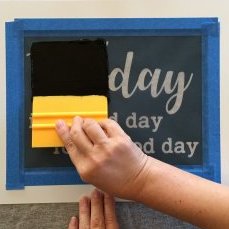
Tip: For best results, let the stencil sit firmly against the clay and use a squeegee or soft rib to press the color through.


Step 3: Cut the Slab
Using a ruler and a needle tool, cut your patterned clay slab into an even square. Clean up the edges if needed with a damp sponge.


Step 4: Mold the Shape
Now for the fun part! Take your soft square of clay and gently lay it over a cardboard egg carton. The clay should be soft enough to flex but not so wet that it sticks or tears.
I gently dropped the egg carton on the table a few times to help the clay fall naturally into the egg-shaped dips. You can also press softly with your fingers if needed.


Step 5: Let It Set
Let the clay dry until it reaches the leather-hard stage, then carefully lift it off the egg carton. Voilà! You’ve got the base form of your ceramic egg holder.


What’s Next?
Once fully dried, fire it according to your clay and glaze preferences. I’ll be sure to post the final glazed version soon!
In the meantime, what do you think of this technique? Would you try it in your own studio? Tag us on Instagram @EZScreenPrint if you make one!
Want to try this technique?
Check out our selection of reusable EZScreen stencils perfect for ceramics here!
Happy printing!
- Choosing a selection results in a full page refresh.

2 comments
Françoise Lorre
Bonjour,
Avez-vous des revendeurs des vos produits en Europe , car les frais d’envoi entre Etats-Unis et France sont très élevés …….Merci de votre réponse ? cordialement
Françoise
Amanda Neal
Love it!!