Menu
Printing with Glaze onto Bisque Ware Pottery!
Screen Printing Glaze Onto Pottery: A Step-by-Step Guide
Screen printing isn’t just for fabric or paper—it works beautifully on pottery, too! In this two-part tutorial, I’ll walk you through how I created a stencil with EZScreenPrint and then used it to print glaze directly onto a pot.
Part One: Making the Stencil
The first step is preparing the stencil you’ll use for your glaze design. I used a kit from EZScreenPrint, and here’s how the process went:
-
Print Your Design
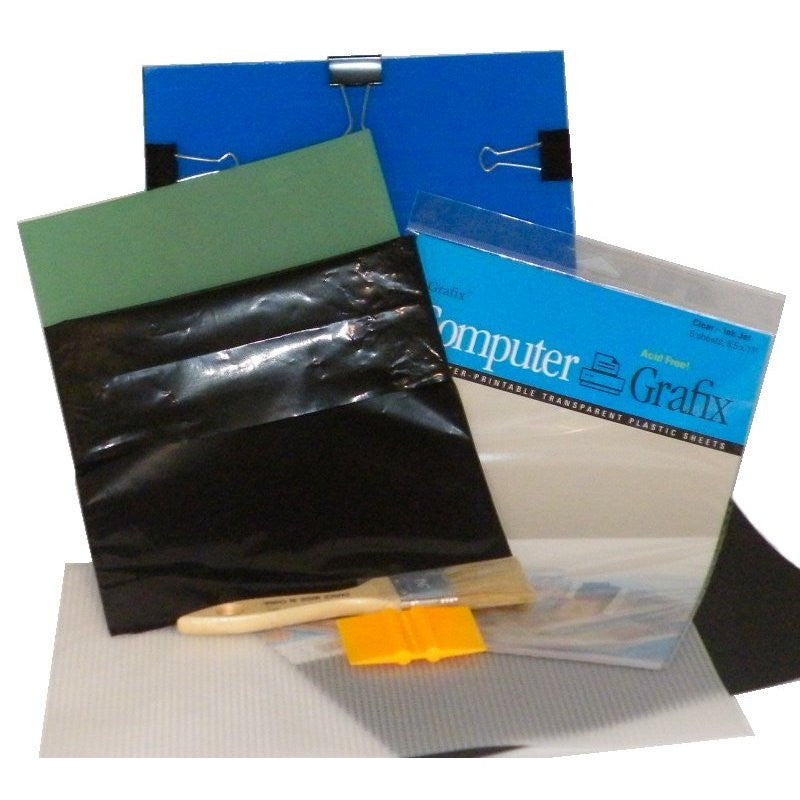
I started by printing my design onto the transparency sheet included with our Screen Printing Kits. This will act as the “negative” when exposing the stencil.
-
Prepare the EZScreen
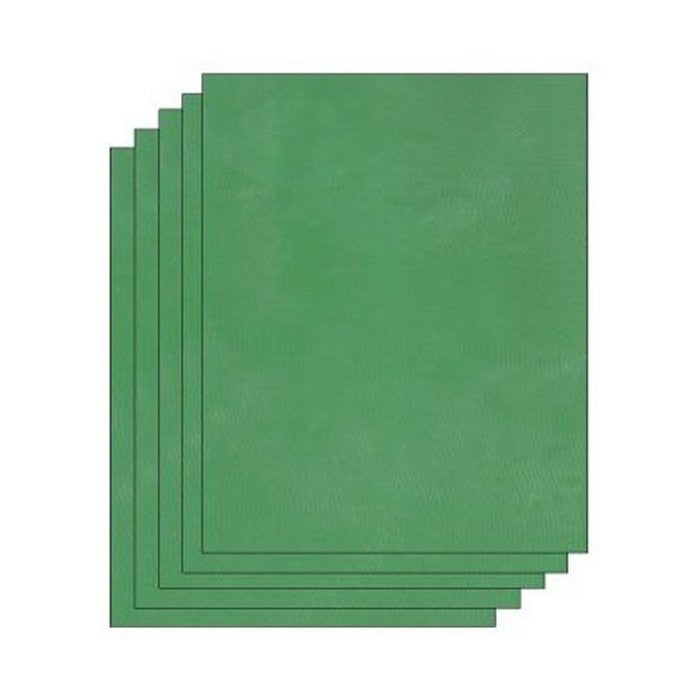
I peeled the protective covering off the EZScreen and placed it shiny side up on the felt board included with the kit.

-
Expose the Screen
With the transparency face down on the EZScreen, I clipped everything into the exposure unit and set it out in direct sunlight for 60 seconds.

-
Rinse and Reveal
After exposure, I removed the transparency. A faint “ghost image” should have appeared on the screen. I soaked the stencil in cool water for about 10 minutes, then gently brushed away the unexposed emulsion.


-
Final Cure
To finish, I let the screen dry in the sun so it could harden completely. Now the stencil was ready for printing!
Part Two: Printing the Glaze
With the stencil finished, it was time to get printing!
-
Thicken the Glaze
When printing with glaze or underglaze, the consistency matters. I added CMC powder to thicken mine, but you can also just let water evaporate until the glaze is thick enough not to bleed under the stencil. Amaco ceramic inks also work great, and they come pre-thickened! When it comes to using CMC powder, a little can go a long way! Start with just a pinch or two, and add more if needed. Also note that the longer it sits, the more it will start to gel.
-
Apply the Stencil
I placed the stencil shiny side down against my pot. Using my finger, I pressed glaze through the stencil openings to transfer the design.


-
Protect the Print
To keep the design sharp during later glazing, I painted over it with wax resist. This protects the printed area so it won’t smudge or disappear when layering on more glazes.

If you don’t want to use wax, you can print with underglaze instead, then simply add a clear coat over the design.
The Final Result
After firing to cone 6, the print came out crisp and clean—exactly how I envisioned it!
This process is simple, adaptable, and adds a professional touch to handmade ceramics. Whether you’re working with underglazes or glazes, screen printing opens up endless creative possibilities for your pottery. 
- Choosing a selection results in a full page refresh.

