


Quick & Easy Chrysanthemum Ceramic Tile
Here is a quick & easy tutorial on screen printing ceramic bisque tiles.
Supplies:
1. Chrysanthemum ready-to-use silk screen stencil
2. Duncan Concepts underglaze for bisque
3. Flat artist brush about 1.5 inches wide
4. 6"x6" bisque tile
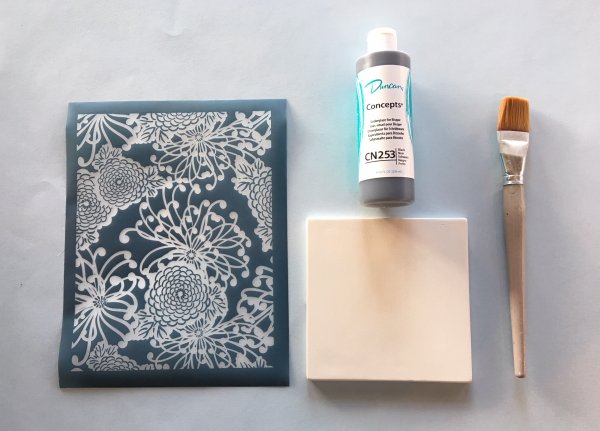
Start by gathering the supplies. We purchased Duncan Concepts underglaze online for this project, and used a flat artist brush. We picked up the bisque tile from a local ceramic studio.
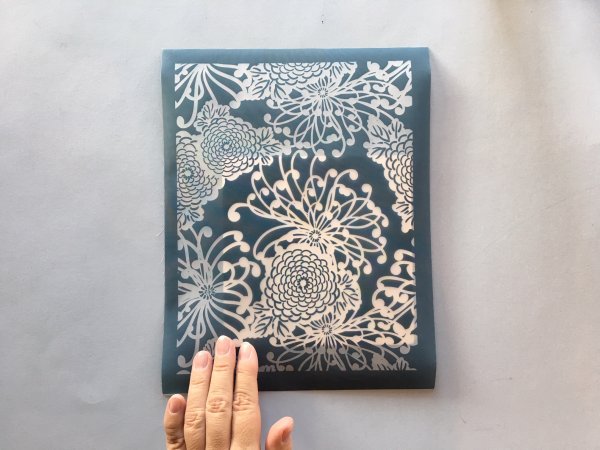
The cool thing about our DIY stencils or ready-to-use silkscreens, is the stencil can be larger than the item to be printed. We used a Regular size (8.5"x11") Chrysanthemum Pattern ready-to-use stencil and laid it over the tile.
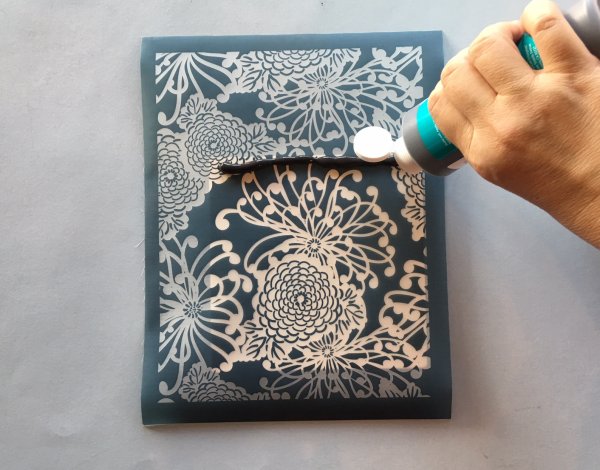
We took the black underglaze and made a line of it at the top of the stencil.
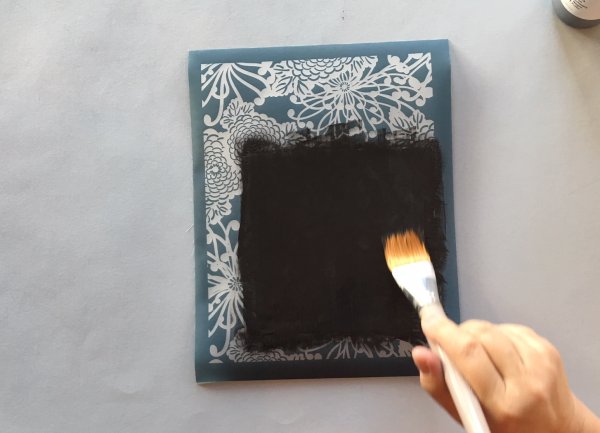
Using the flat artist brush, we covered the entire design area of the stencil over the tile. Only light pressure was given. We have had several ceramic artists recommend using a silkscreen medium or thickening powder to mix with the underglaze then apply with a fingertip. But honestly, that just sounded like an extra step and quite messy. No medium or thickening agent was used, and the underglaze passed right through the silk screen stencil without any bleeding.
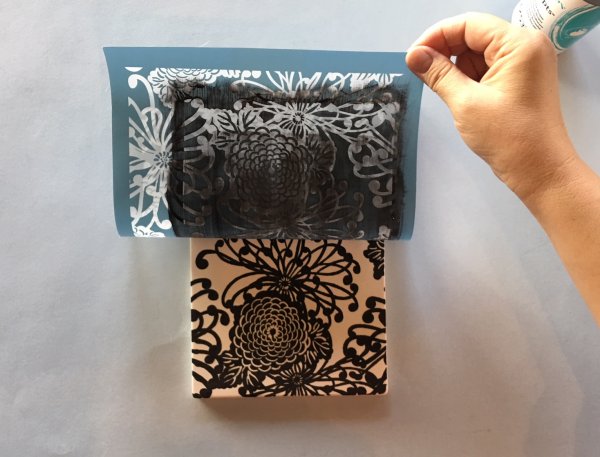
Each corner was lifted up to check for voids before removing the entire stencil. After fixing one corner, the stencil was slowly lifted off.

Voila! After the underglaze dries, we will drop off this beauty at our local ceramic studio to be clear dipped and fired.
- Choosing a selection results in a full page refresh.
2 comments
Sharon Paterson
Hi. Do you deliver to South Africa
Corlia
I LOVE this, please, can you deliver in Namibia or South Africa too?, pls let me know whether you maybe have distributors in one of the mentioned countries?