Project Gallery - Alfred Hitchcock T-Shirt

Project Gallery
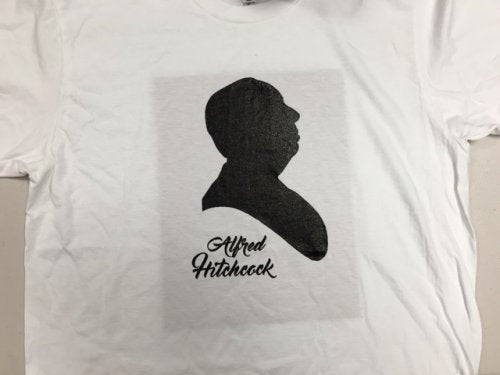
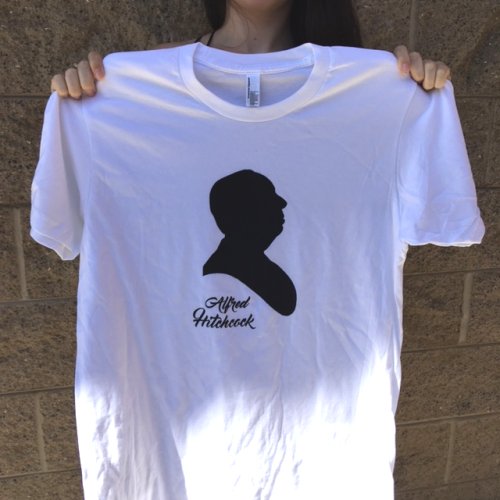
EZScreen DIY Screen Printing Alfred Hitchcock T-Shirt


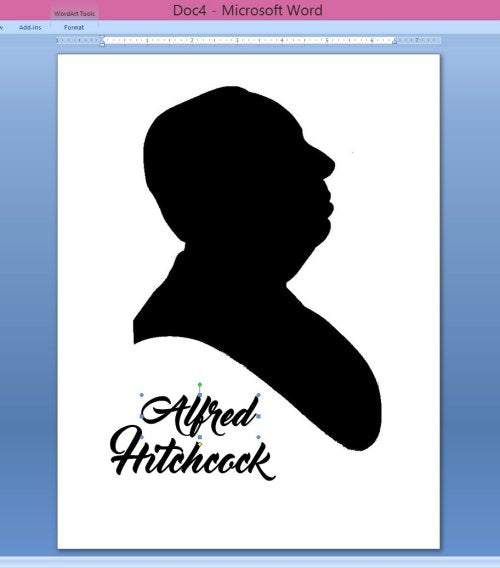
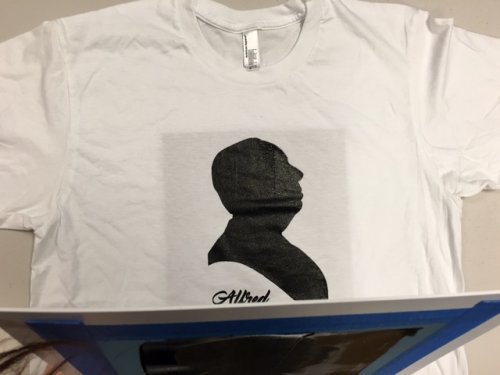
March 12th is National Alfred Hitchcock Day, and in light of this unusual but marvelous holiday, I decided to make my own custom Hitchcock t-shirt. Here is my process, starting with the artwork:

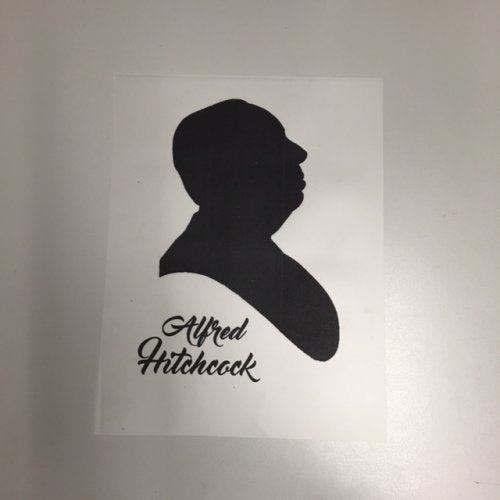
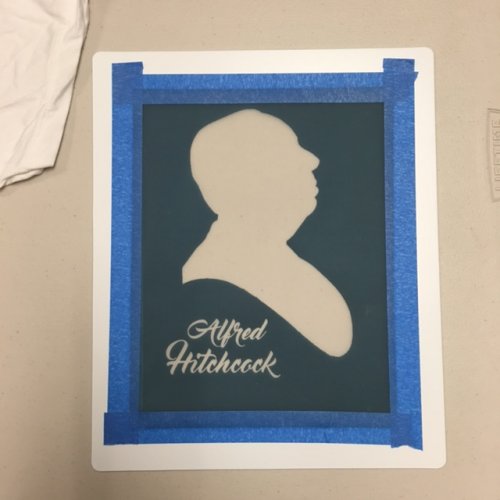
I started by converting this side profile silhouette image into black and white on Paint Shop Pro version 7 (super old, I need a more recent version!) using the "Threshold" method.

DIY Screen Printed Custom T-Shirt

Once the image was edited, I opened it on a WordDoc, and created some text to make it more custom.

DIY Screen Printing Artwork

I loaded the transparency into my printer, making sure the image would print on the textured side which allows the printer ink to dry and remain permanent.

DIY Screen Print Transparency Film

Wallah!

DIY At Home Screen Printing Transparency Film

After I allowed the transparency to dry, I assembled the exposure board unit and EZScreen stencil for exposure.

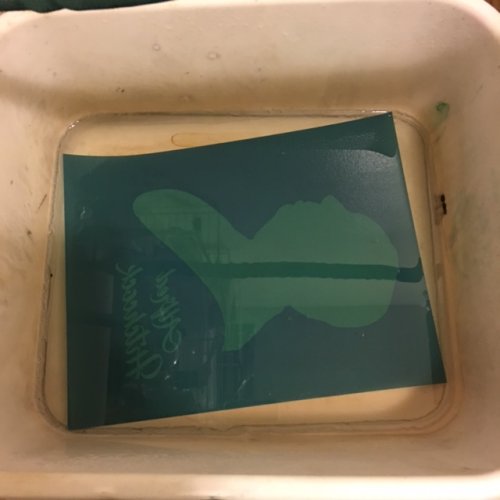
In a dimly lit room, I peeled clear coating from EZScreen stencil.

DIY Screen Printing EZScreen Stencil

DIY At Home Screen Printing Stencils

After the silk screen stencil and transparency were put in between the clear and black board, I secured all sides with clips.

DIY Screen Printing Supplies

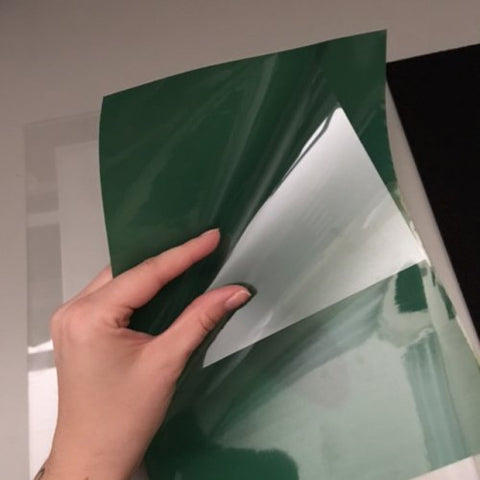
Follow this link to view complete How-To Make a Stencil instructions.

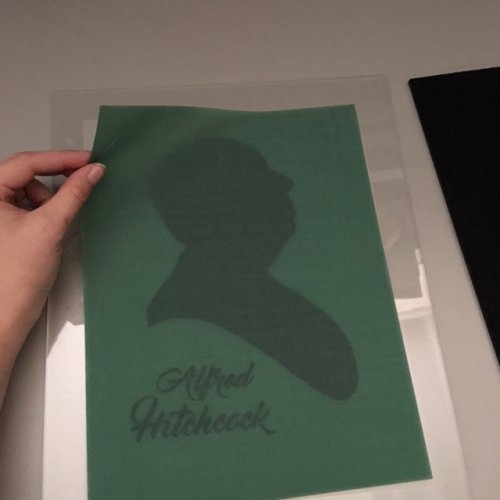
I exposed the screen print stencil in direct sunlight for 1 minute. If applicable, angle the stencil so it is perpendicular with the sun.

DIY Silk Screen Printing Stencils

After exposure, I submerged the stencil in water and allowed to soak for 10 minutes.

DIY Silk Screen Printing Stencil Kits

Most of the emulsion will lift off while soaking in water, but some extra TLC will be needed to remove any excess.

DIY At Home Screen Printing Supplies

Once the emulsion has been washed off and the stencil patted dry, let it cure under sunlight for 5-10 minutes (emulsion side facing up).

DIY Screen Print At Home Stencils

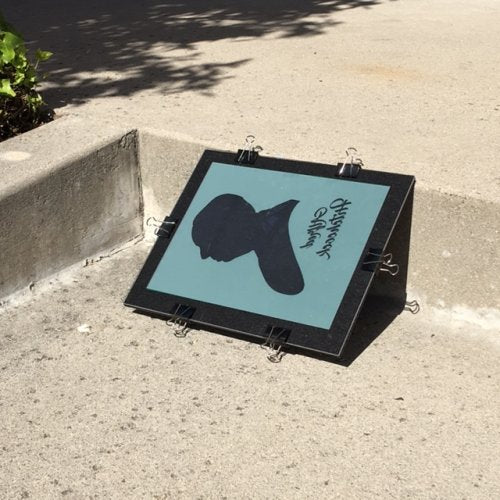
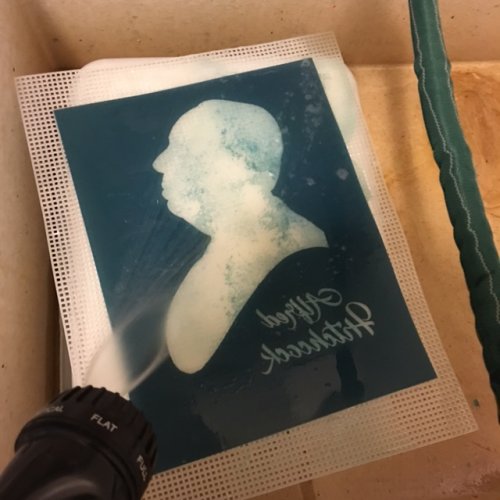
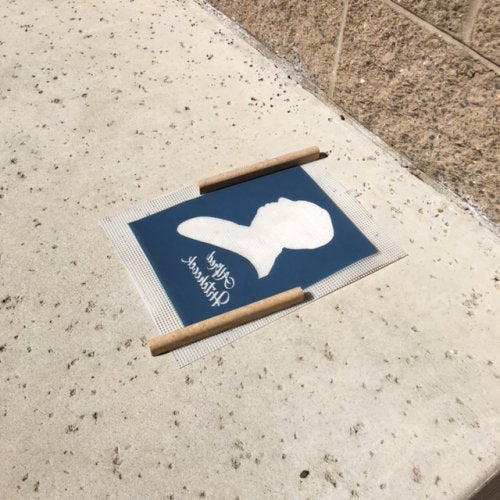
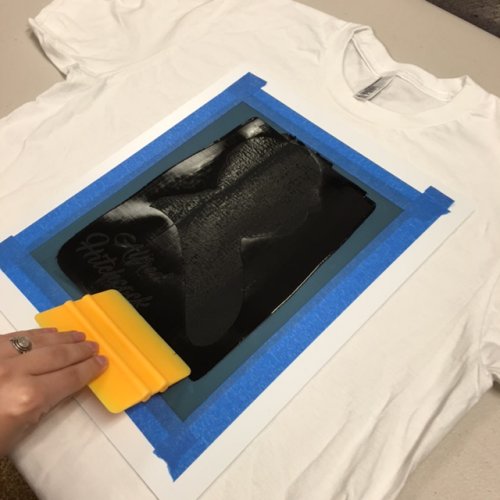
After the stencil has completely dried, it's ready for screen printing!

DIY At Home Screen Printing Stencils for Fabric
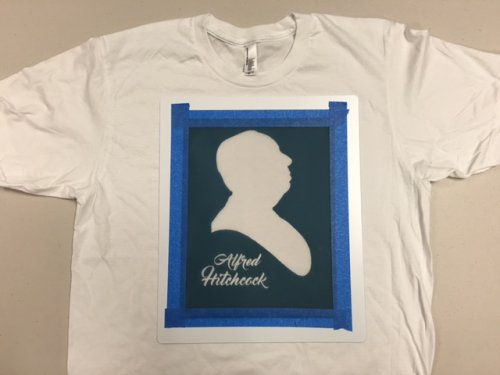
I inserted a piece of cardboard into the shirt, to prevent screen printing ink from seeping to the back. Using blue painters tape, I attached the stencil to a plastic frame.

DIY Screen Printing Stencil Plastic Frame

Then adjusted the stencil on top of the shirt.

DIY At Home T-Shirt Stencils

Using a wooden stick, I loaded a 4 inch squeegee with black Speedball screen printing ink.

DIY Screen Printing Fabric Ink

In a downwards motion, I silk screened the EZScreen stencil with the ink, making sure I covered the entire design.

DIY Screen Printing Stencils At Home

After lifting up a corner or two to make sure the ink went all the way through, I lifted the stencil off and submerged it immediately in water. (You can remove the frame before soaking in water or after).

DIY Screen Printing Emulsion Sheets

And Wallah! A finished t-shirt! Allow the Speedball ink to air dry for at least an hour before handling the t-shirt.

DIY Silk Screen Stencils Custom T-Shirts

DIY Alfred Hitchcock Screen Printed T-Shirt