


DIY Screen Printing Custom Christmas Wood Signs
DIY Screen Printed Christmas Wood Signs
We decided to take advantage of the Christmas in July tradition and make some exciting wood signs. These are extremely easy and fun to make with our DIY screen printing kits and stencils. Here is our tutorial on the wooden signs we made.
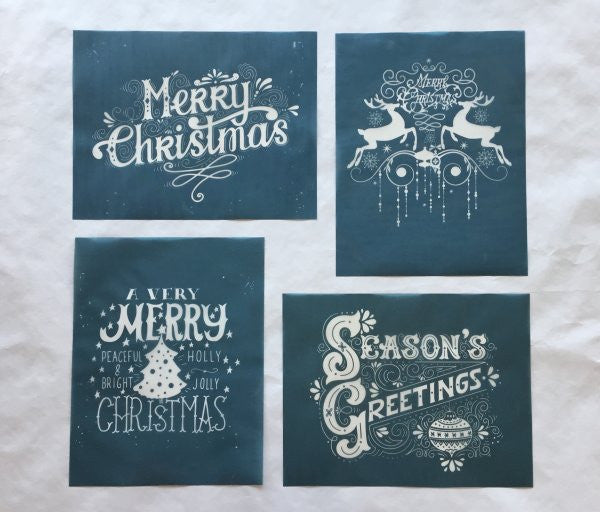
We started by creating 4 different Christmas stencils using our 8.5"x11" Standard DIY silk screens.
These designs are now available as Ready-To-Use stencils:
Merry Christmas Calligraphy Stencil
A Very Merry Christmas Stencil
Merry Christmas with Reindeer Stencil
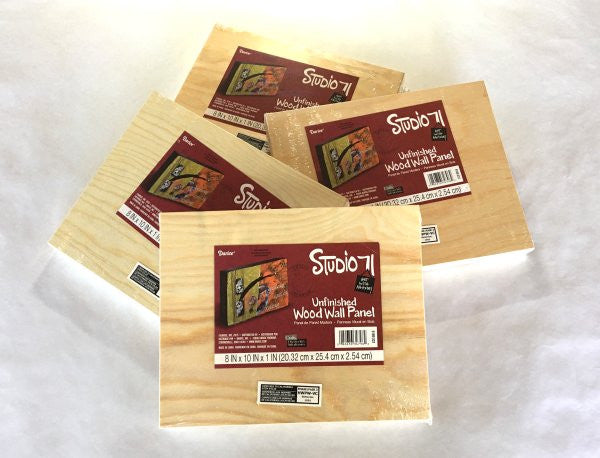
We purchased these 8"x10" unfinished wood pieces by Darice. We found them from several online retailers, including Amazon.
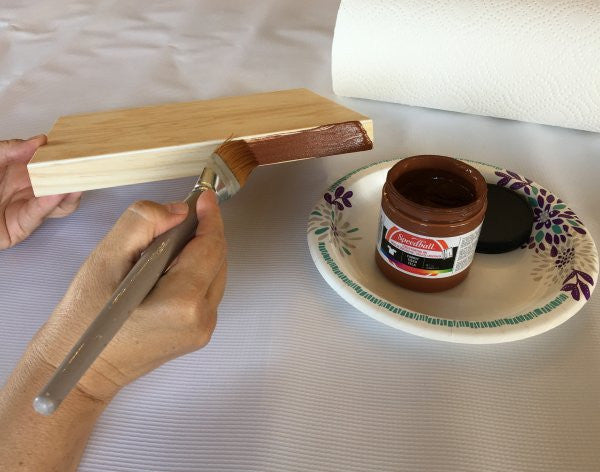
Using Speedball Brown screen printing ink, we painted all 4 sides so it completely covered the wood.
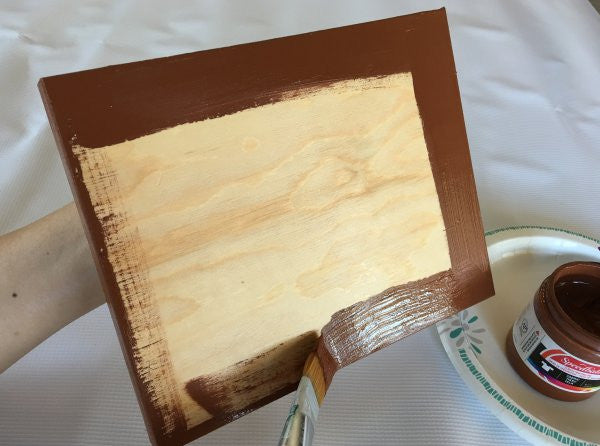
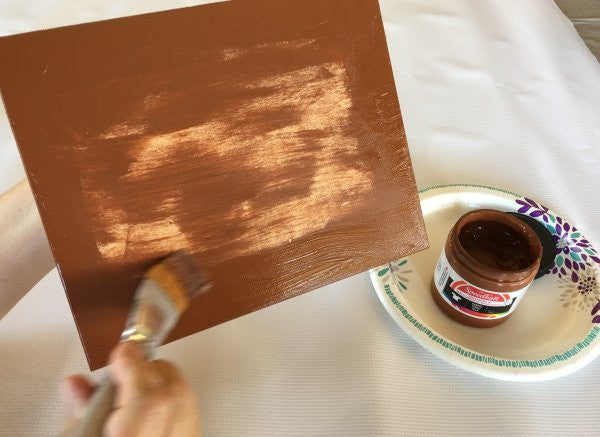
The edges of the wood piece was painted first. Without adding more paint to the brush, we filled in the rest of the piece so that the wood grain was still visible.
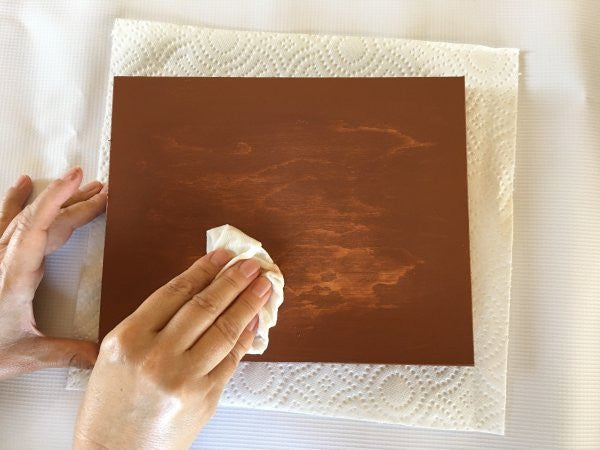
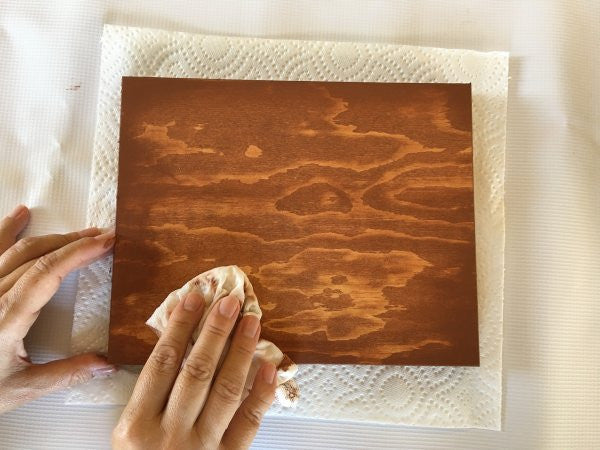
While the ink was still wet, we used a damp paper towel and removed some of the ink from the center of the wood to give it an aged look. Once we were satisfied with the final look, the ink was allowed to air dry which took about an hour.
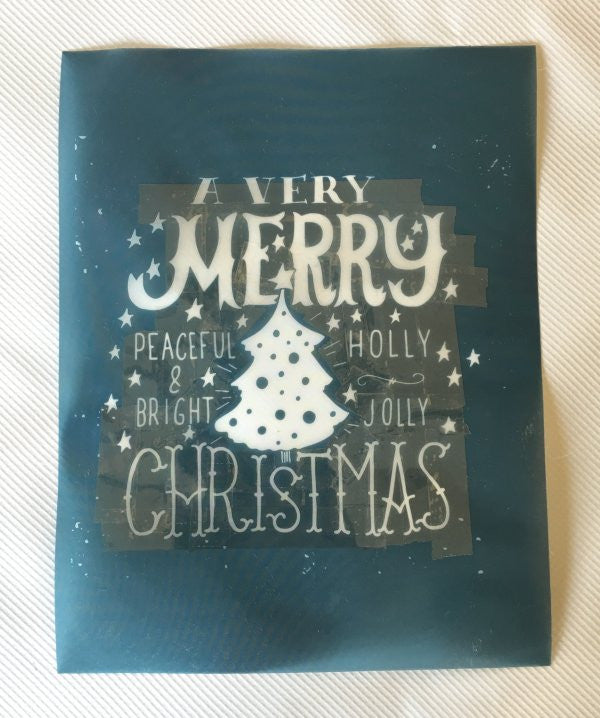
We wanted this sign to be multiple colors, so we started by taping off all the text and design except for the center Christmas tree.
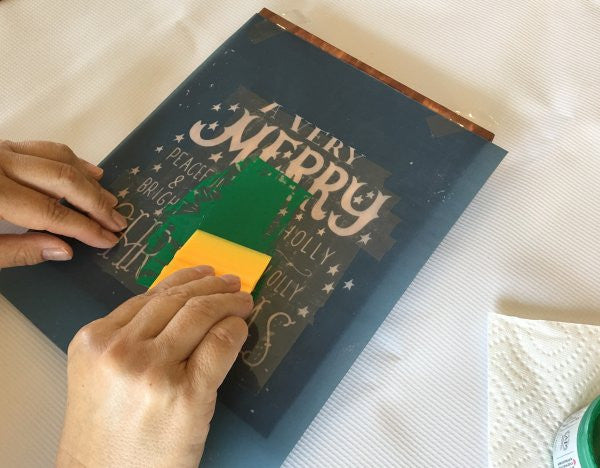
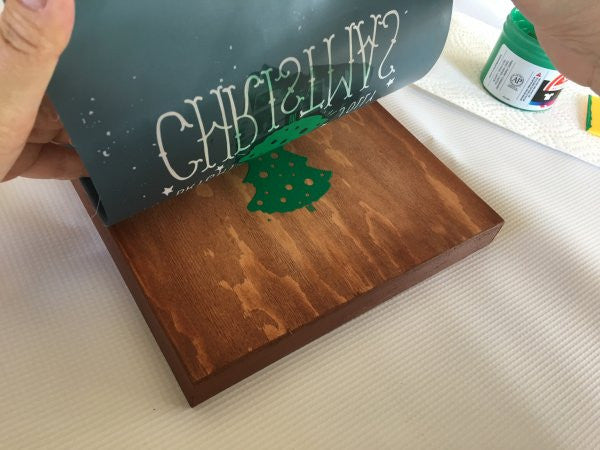
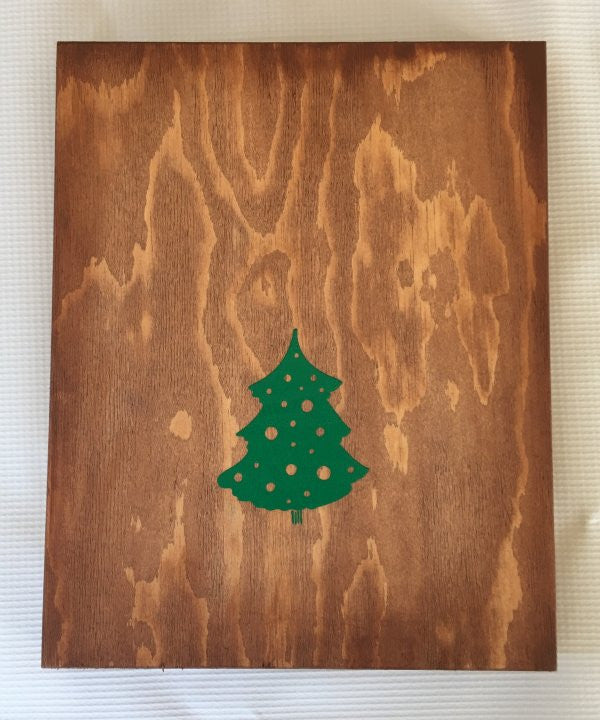
Using a 2" squeegee and Speedball Green screen printing ink, the Christmas tree design was printed onto the wood sign and allowed to dry. Once the stencil was washed, the tape was removed and replaced by covering the Christmas tree.

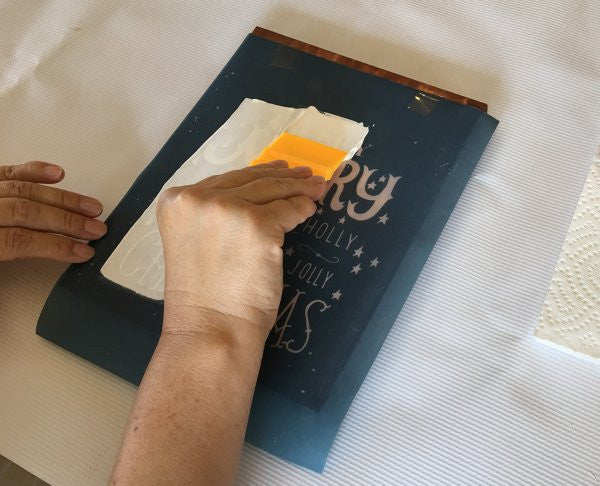
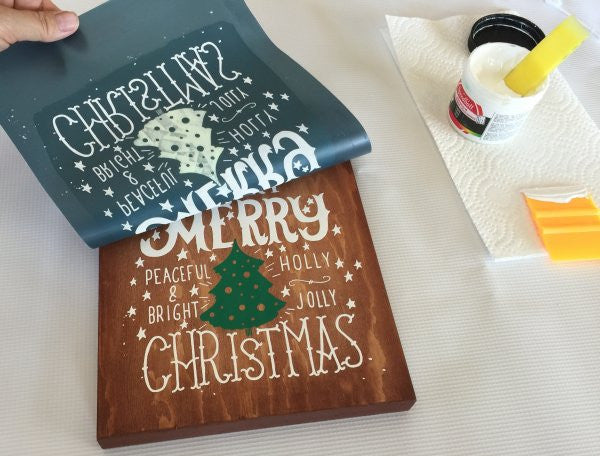
The stencil was realigned on the wood (by lining up the Christmas tree design) and using Speedball White screen printing ink, printed the text area of the design. It's ideal to lift each corner of the stencil to make sure the ink passed all the way through the mesh, and laying it back down to go over again if there are voids. Once the print was checked and lifted from the wood, we rinsed the stencil under running water and removed the tape.
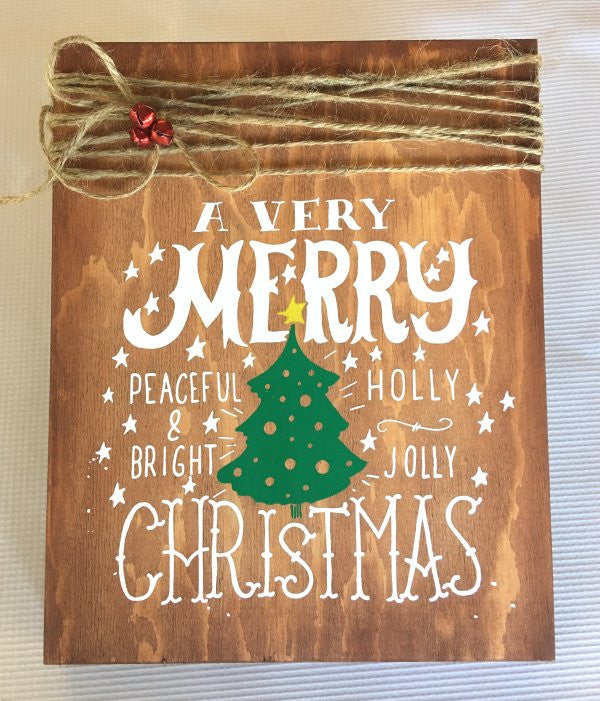
Once the ink dried, the Christmas star was added with Speedball Opaque Citrine screen printing ink. We added twine and jingle bells to finish the final look.

- Choosing a selection results in a full page refresh.