Menu
A Gentler Way to Bleach Dye? Printing with Discharge Ink!
Welcome to our latest adventure where I dive into the magical world of fabric printing with Discharge Ink! Forget what you know about traditional bleaching methods because we're exploring a gentler, yet equally mesmerizing way to remove color from fabric. Let's embark on this journey together, where I turn plain ol' blank shirts into extraordinary pieces of wearable art.
The Hero of Our Story: Jacquard’s Discharge Ink
Move over, bleach! There's a new player in town. I experimented with Jacquard’s Discharge Ink (Also called deColourant), renowned for its fabric-friendly color removal properties. This isn't just about changing the color; it's about reimagining the fabric's identity without the harshness associated with bleach.
What You'll Need:
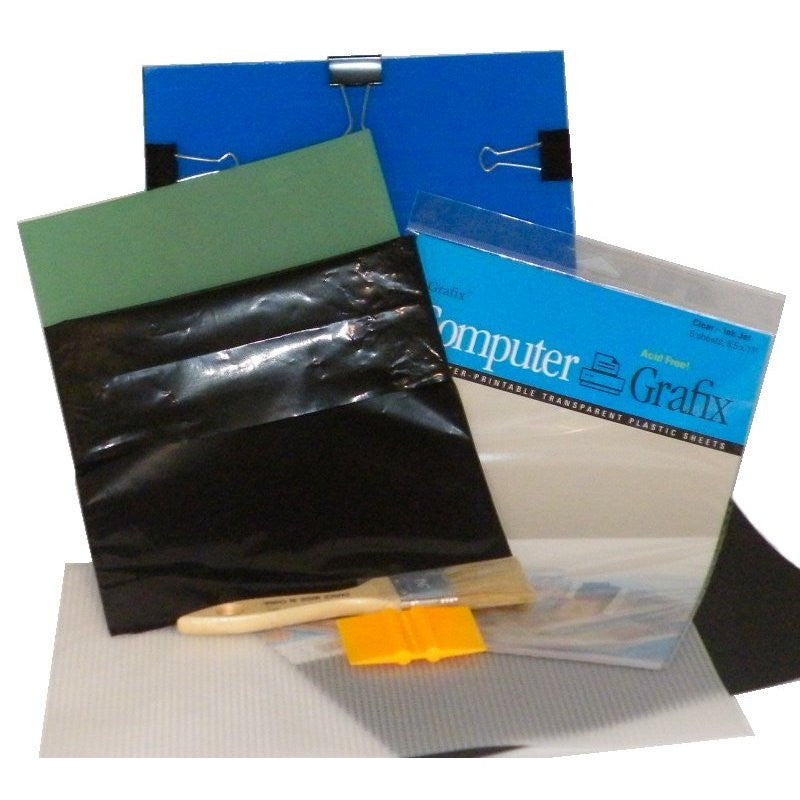
- EZScreenPrint Starter Kit
- Discharge Ink
- Blank T-Shirt (Natural fibers will work best!)
- Access to a printer (to print your design onto a transparency)
- Iron or Heat gun (A hairdryer would probably work as well)
- Something to put inside the shirt to prevent the ink from going all the way through and bleaching the back
From Digital Dreams to Silkscreen Realities
I started out by drawing a design on my computer. I love using Adobe Illustrator, but there are lot's of free alternatives for graphic design/digital drawing. Just as a heads up, when making designs that you are going to be using with Bleach/Discharge ink, keep in mind that you may want to change the image so that the highlights/dark areas are reversed! The images below show what I mean. I printed my design onto a transparency, and then using an EZScreen starter kit, turned my drawing into a silkscreen stencil-- ready to be used! (If you want to see how I used the starter kit to make a stencil, check out this page!)

The black is what will be made into a stencil, so I would use this first image if printing with regular paint or ink, because I prefer the foreground to be dark/colored.

This second image is what I made my design to be for printing with bleach, so that the color of the shirt becomes the foreground, and the bleach lightens up the background.
The Art of Discharge Printing


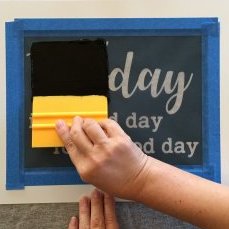
Before anything else, make sure you have something inside your shirt to stop the Discharge Ink from seeping to the back! I used some chipboard this time, but I have also used plastic, or cookie sheets. Next, centering the stencil on my shirt, I started printing away! Using a squeegee, I pushed the Discharge Ink through the stencil. Make sure you are pressing with enough pressure to get the ink all the way through the stencil (and that you get ink pushed over the entire design)! Because I am using an EZScreen stencil, not only was I able to print my own shirt, but I was able to quickly print a second for my brother as well :)
The Heat Is On!


Now, here’s where the real magic happens. Discharge Ink reveals itself with heat. I used a heat gun on one shirt and an iron on the other. Both methods seemed to work just fine, with the iron taking just a little bit longer. Also, another interesting little tid-bit, the blue shirt turned purple before turning white. I have read that not all fabric colors will turn totally white, but be patient and let it lighten as much as possible.
The Final Reveal


After a quick wash and a gentle rinse, the shirts emerged ready to meet the world, their new designs popping nicely against shirt. While the handiness and availability of household bleach still has its merits, the gentle touch and fabric-preserving qualities of Discharge Ink have definitely captured my heart.
A Word to the Wise: Ventilate!
Using this Discharge Ink comes with a warning: the scent of rotten eggs. Yes, the magic of Discharge Ink is accompanied by a potent aroma, a small price to pay for the wonders it works. Make sure your work space is well ventilated.
Final Thoughts
This experiment with Discharge Ink has been a fascinating alternative to not only bleach, but printing with fabric inks as well! The fabric stays soft, and you don't have to worry about it getting crackly or peeling. It's a journey of discovery, creativity, and a few surprises (hello, olfactory challenge!). Whether you're a seasoned DIY enthusiast or a curious beginner, this technique offers a world of possibilities to explore. Happy Printing, and let us know if you try it out!
- Choosing a selection results in a full page refresh.

